Short Creative Nonfiction on the Weather

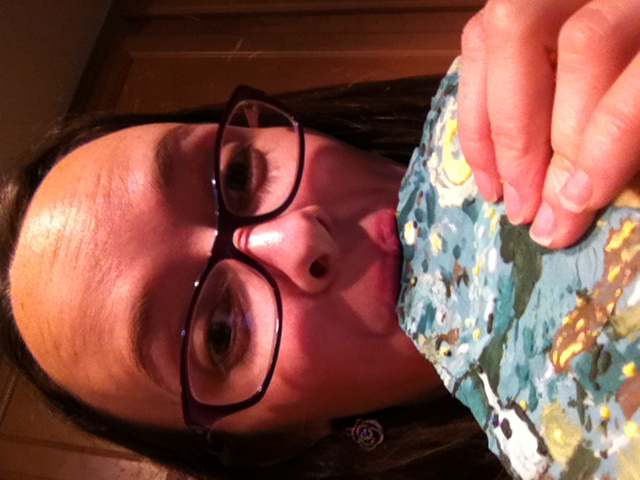
In 2005 I took a college class on writing memoirs. We learned a lot about creative nonfiction, and one of my takeaways, almost a decade later, is that there is so much you can do with words in nonfiction to make something matter. You can take something insignificant and transform it into something significant just with how you write about it.

A lot of my creative nonfiction ends up on Facebook, and I’ve been writing a fair bit about the weather lately. Normally the weather isn’t very interesting in Phoenix, but it has been lately. Here’s a few of my short writings from Facebook that have made me happy lately:

The story of how I got soaking wet

The Story of How I got Soaking Wet (Small)

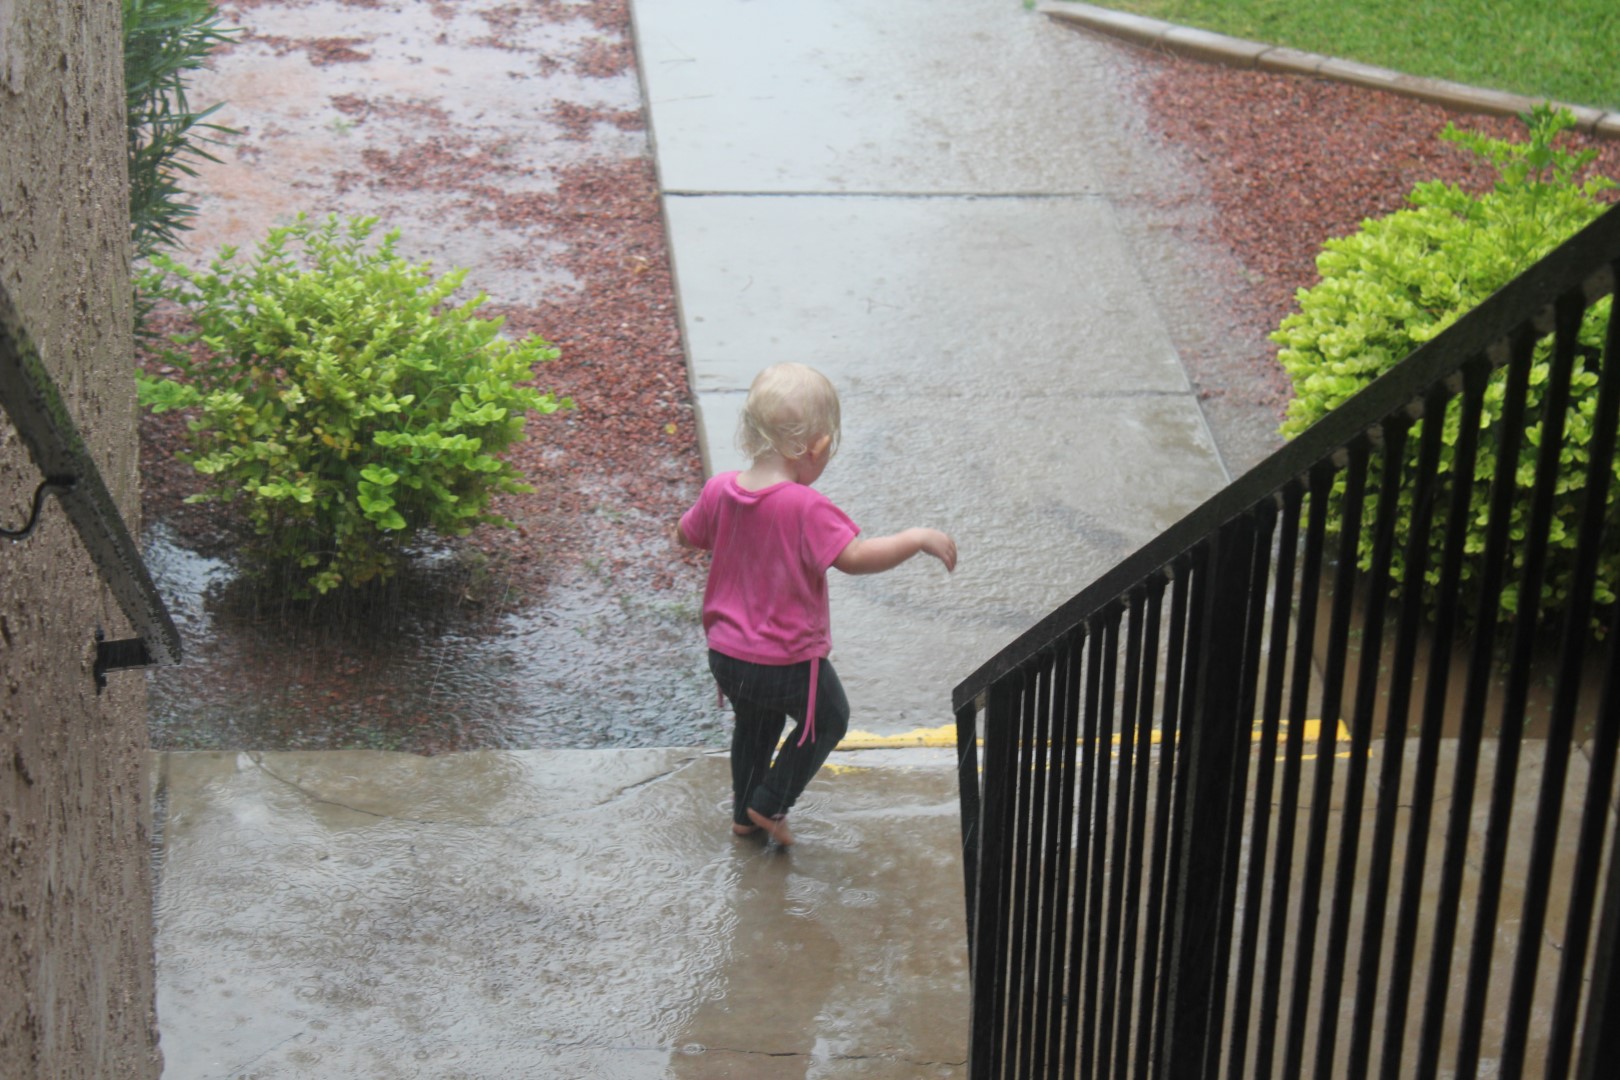
1. I opened the front door so the girls could see the pouring rain.
2. The kids sat on the top stair so they could get a little wet.
3. The kids descended the rest of the steps while I watched, still completely dry, and sang rain songs to them.
4. I took pictures of the girls playing in the rain, but stayed dry.
5. The girls’ friends came outside to play with them and suddenly my daughters didn’t want to stay right next to the stairs.
6. To be a responsible adult and to supervise their fun, I went out into the rain.
7. I realized I was already soaked, so I decided to shed my adult self and play. I jumped in puddles, ran through the “river” on the sidewalk, and skipped rocks. It was freeing to enjoy myself and let my stresses slip away into the water.

I think most adults could use a little more puddle jumping in their lives.

(originally posted September 17th)


On a Day of Flooding and Epic Amounts of Rain

Some places I’ve lived, like Oregon, can handle the rain. In Phoenix it’s not just that the roads and and roofs and infrastructure aren’t designed to handle the rain. The soil, the dessert itself, can’t soak it up.

It’s 9:30 a.m., and we’ve already broken the record of the most rain in a day in Phoenix–the record we broke was set 75 years ago. Freeways are closed, cars are submerged, flooding is everywhere. The roof of a grocery store I sometimes go to collapsed.

Today we’ve received more rain than Phoenix normally gets during the three month period of July, August, and September. My husband decided to skip the class he’s auditing this morning.

Be safe out there, my fellow Phoenicians.

(originally posted September 8th. We ended up receiving more rain in a day than Phoenix normally does in a year.)


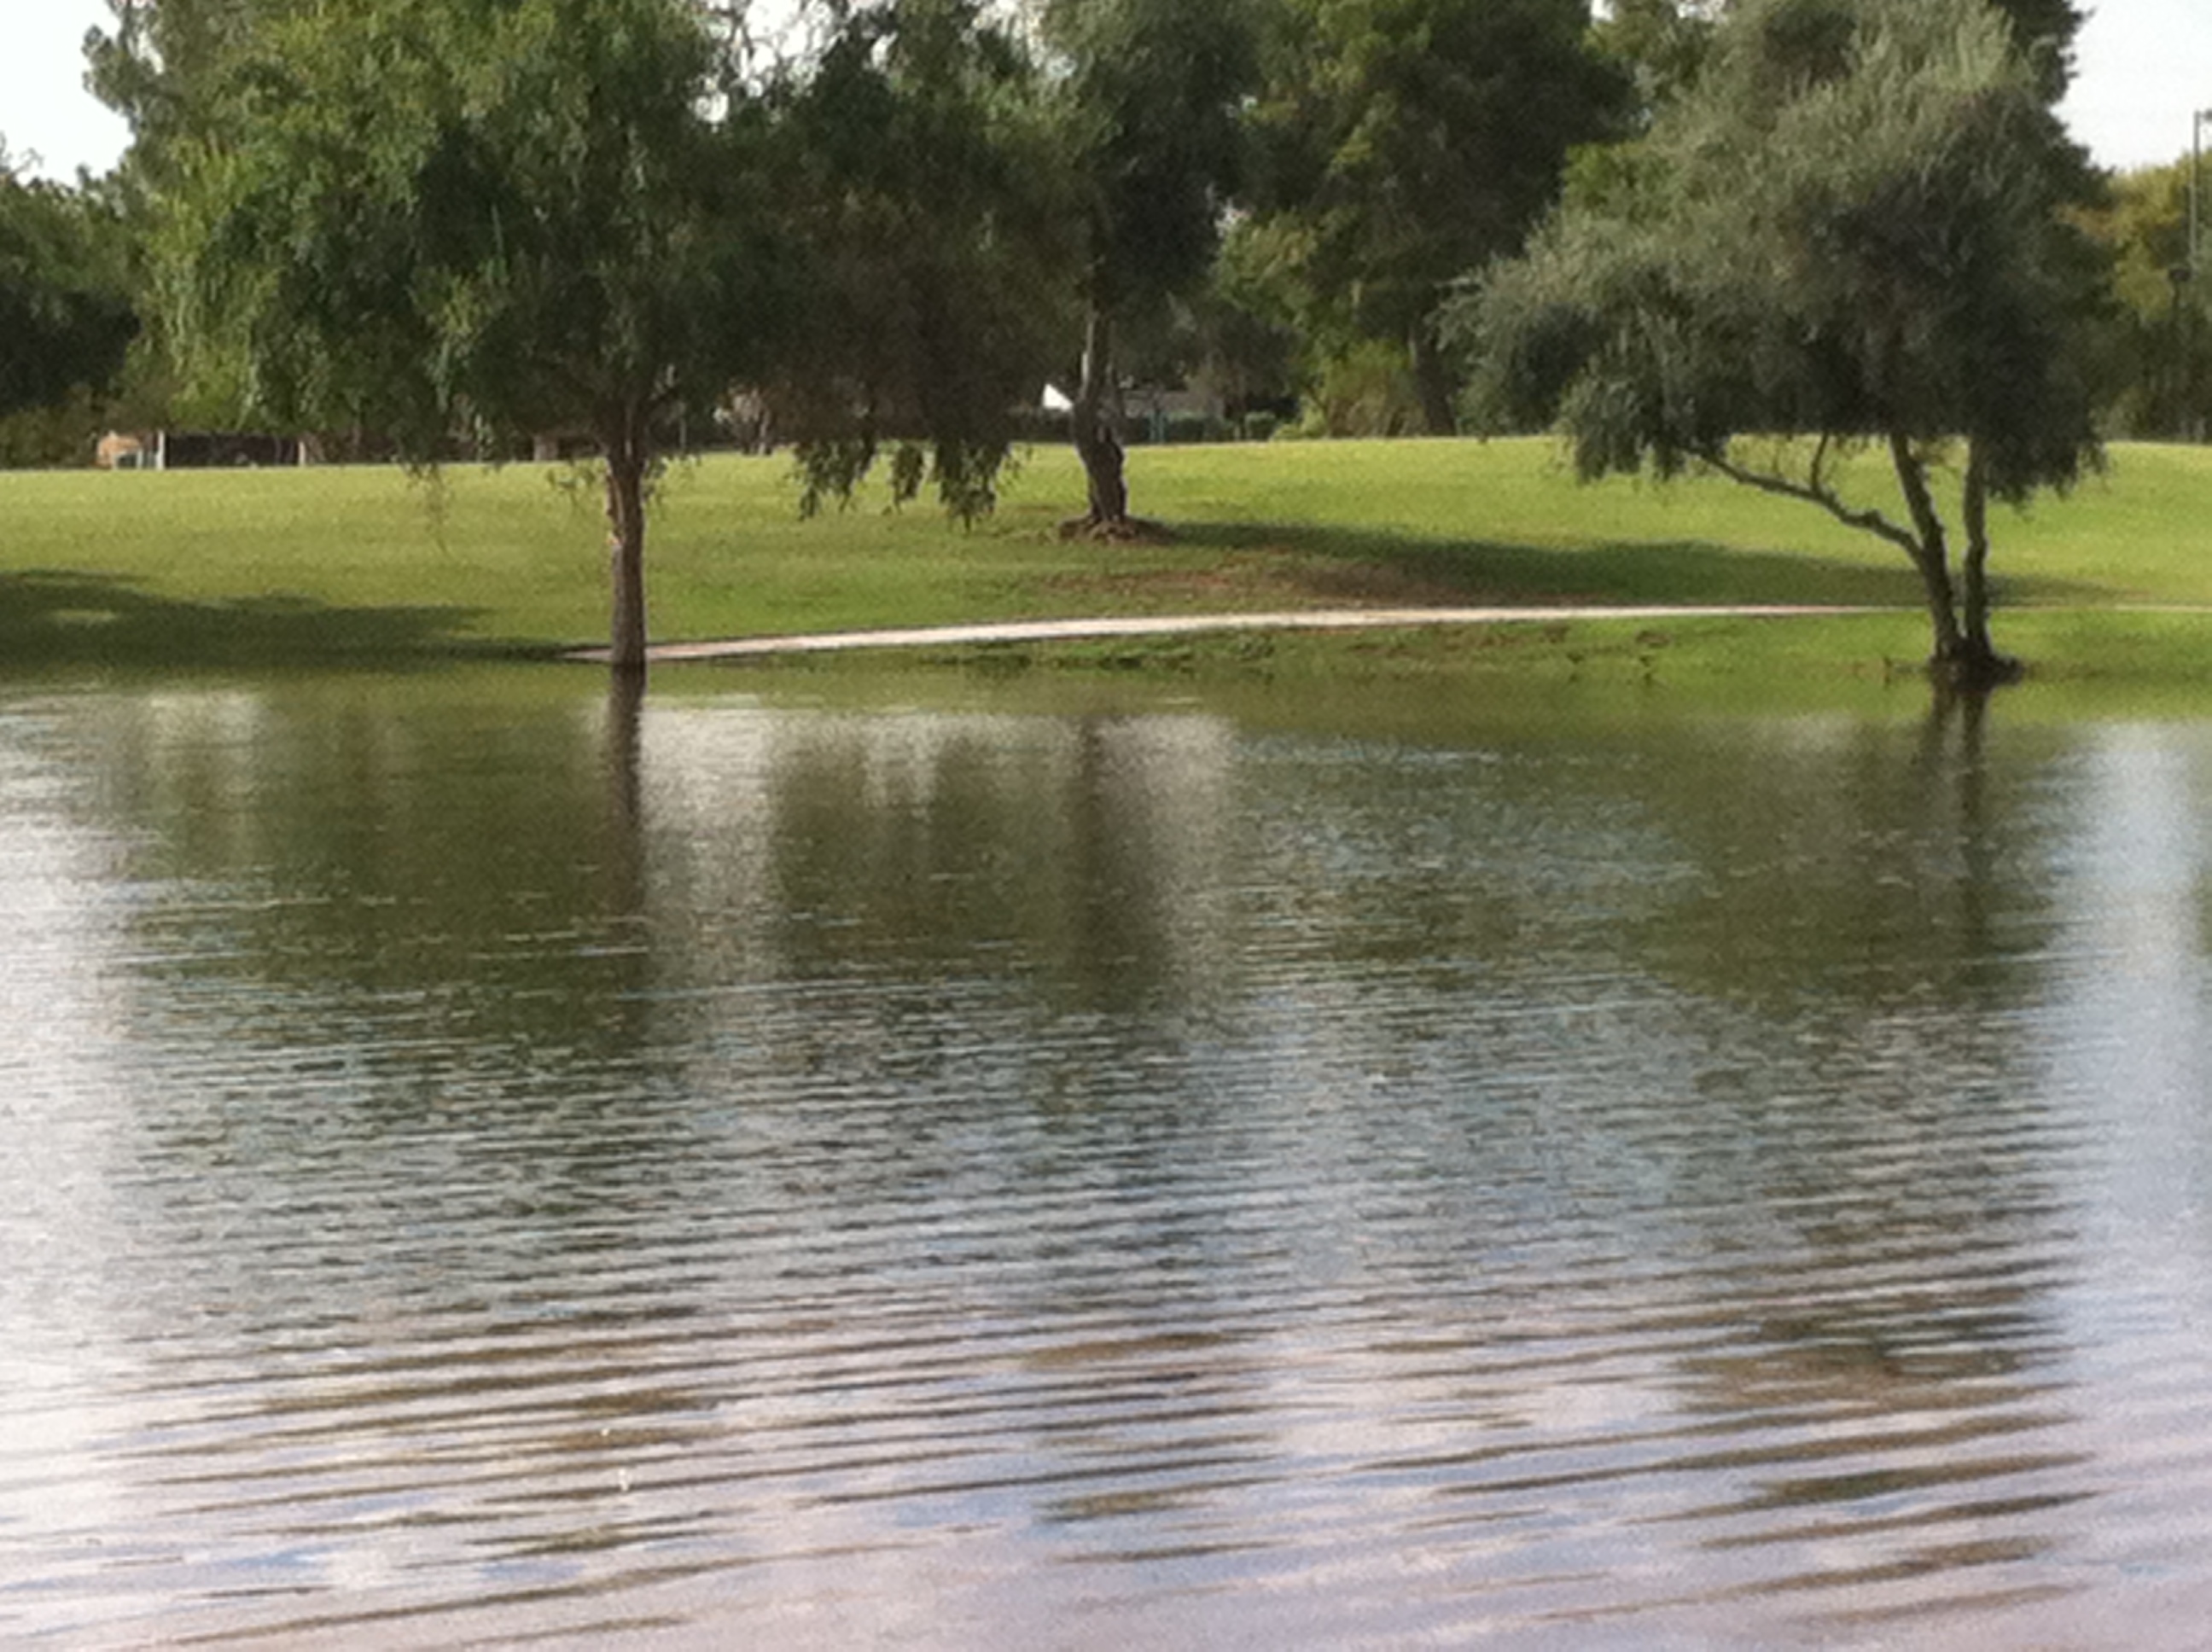
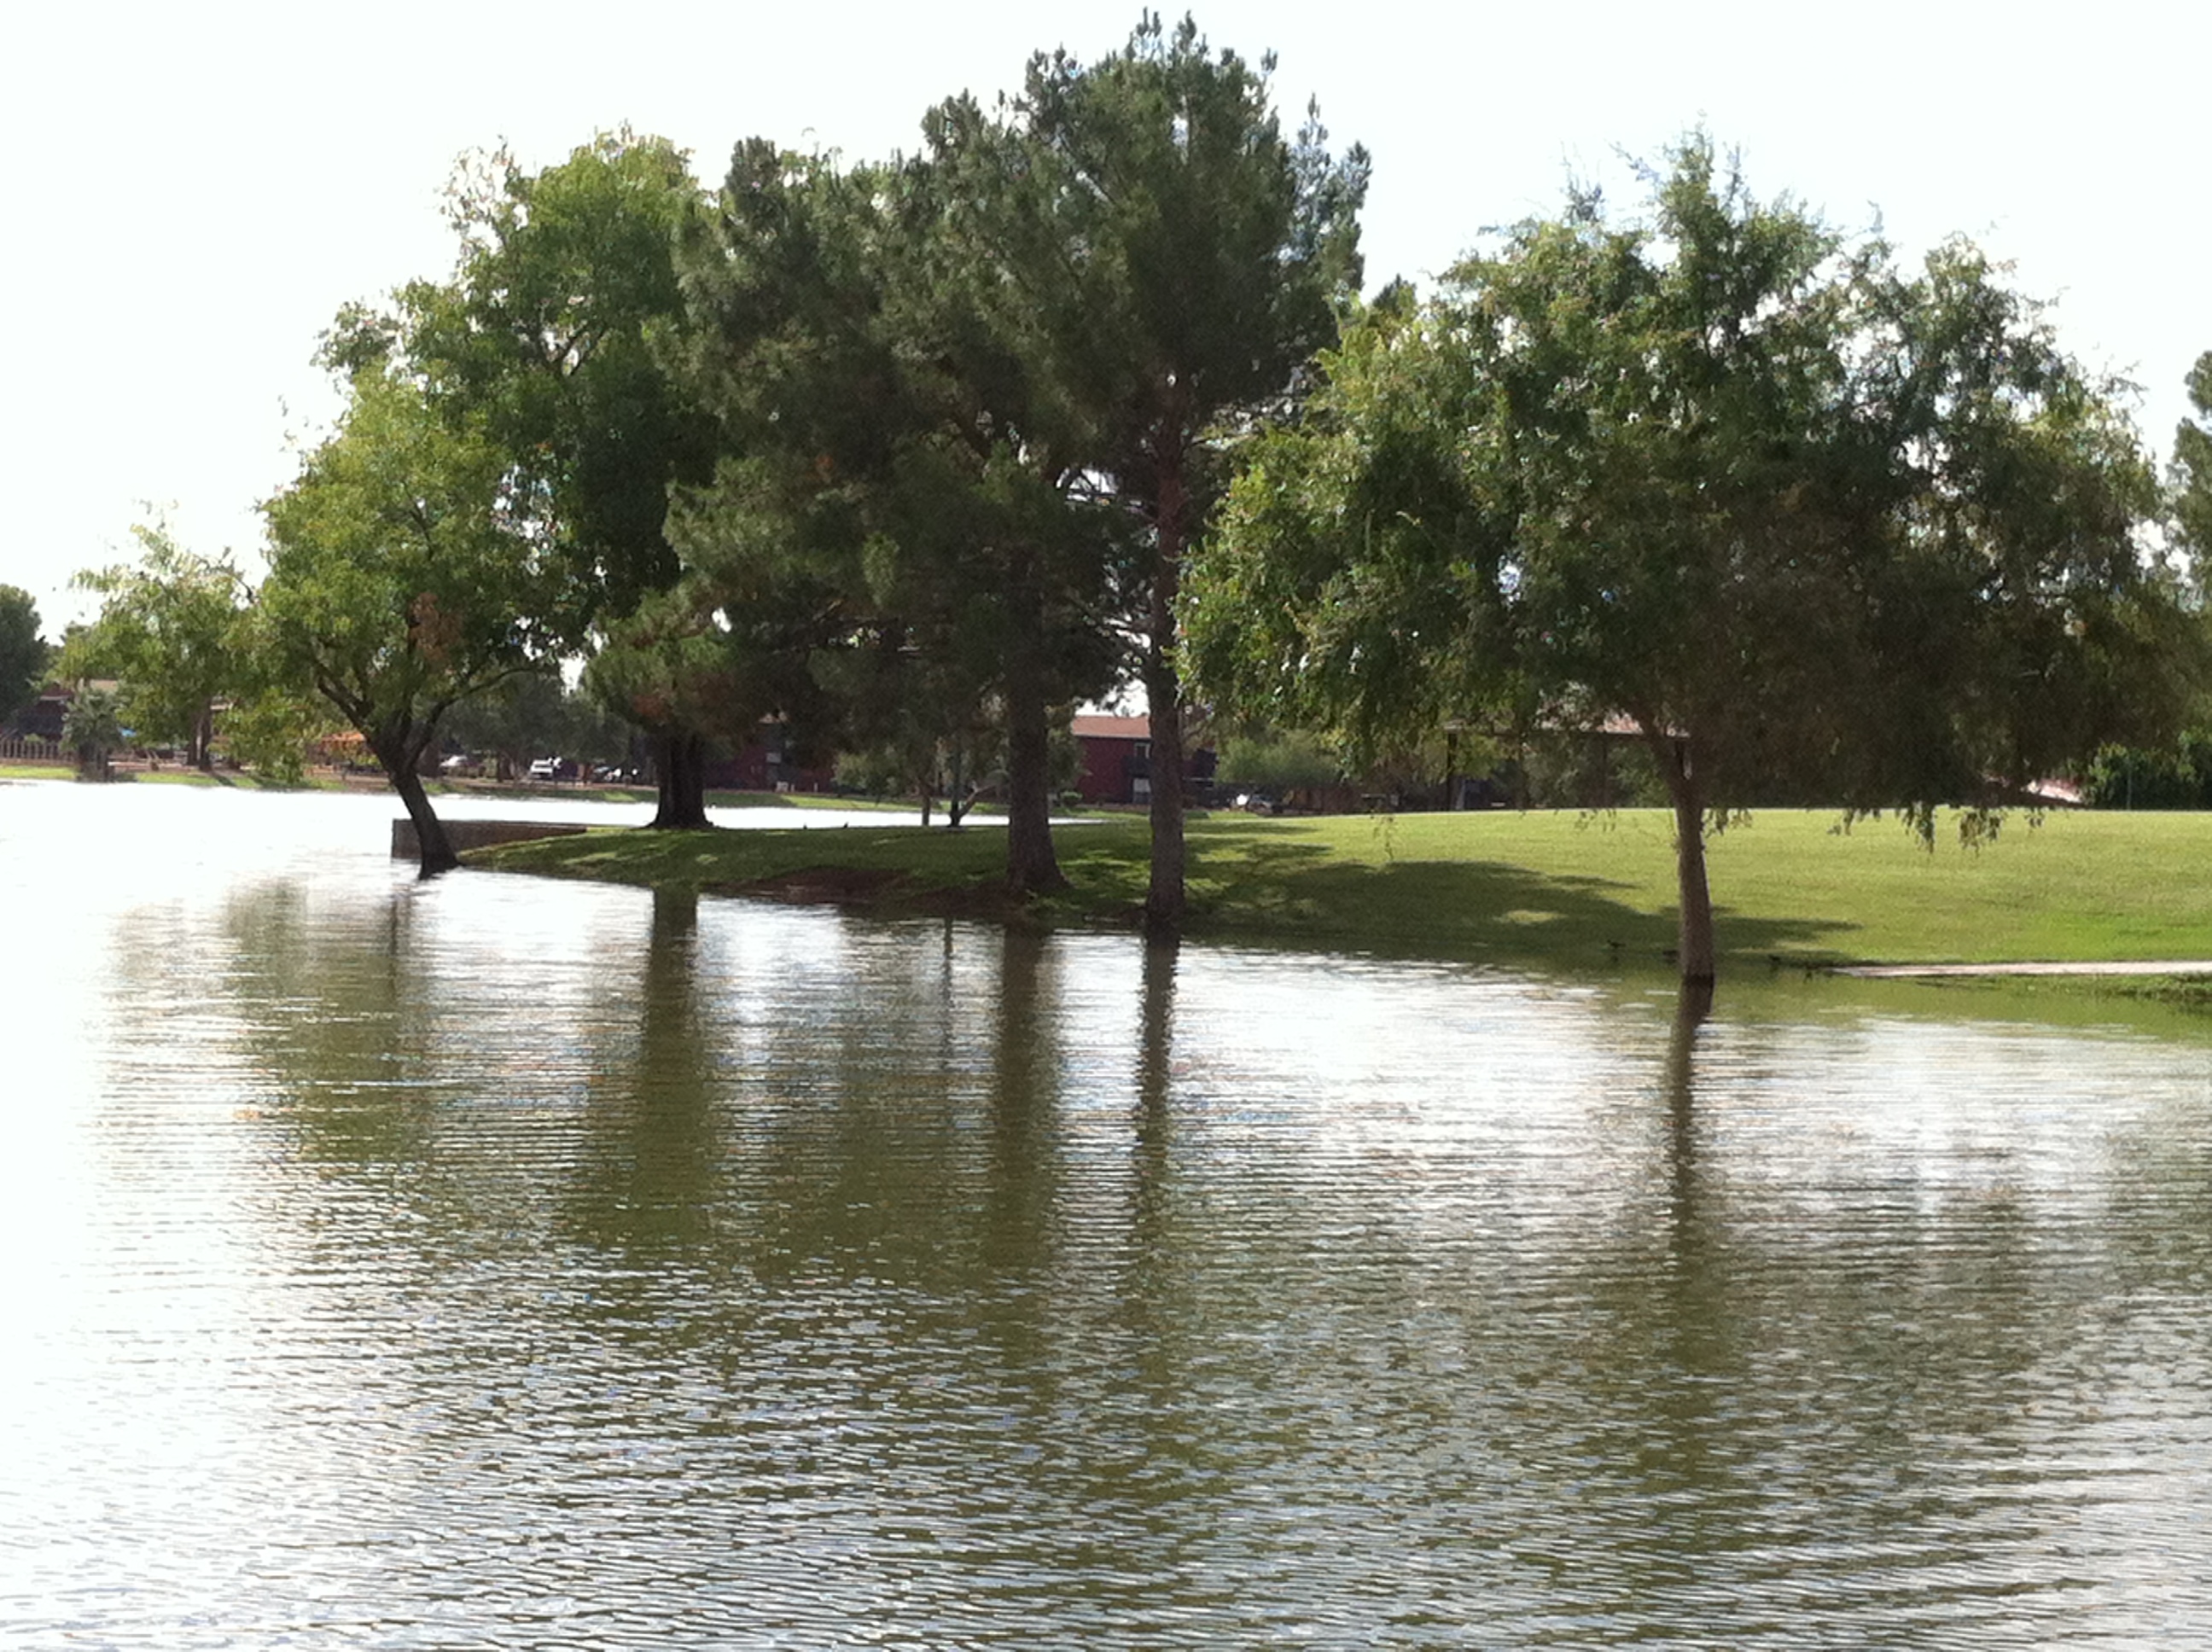
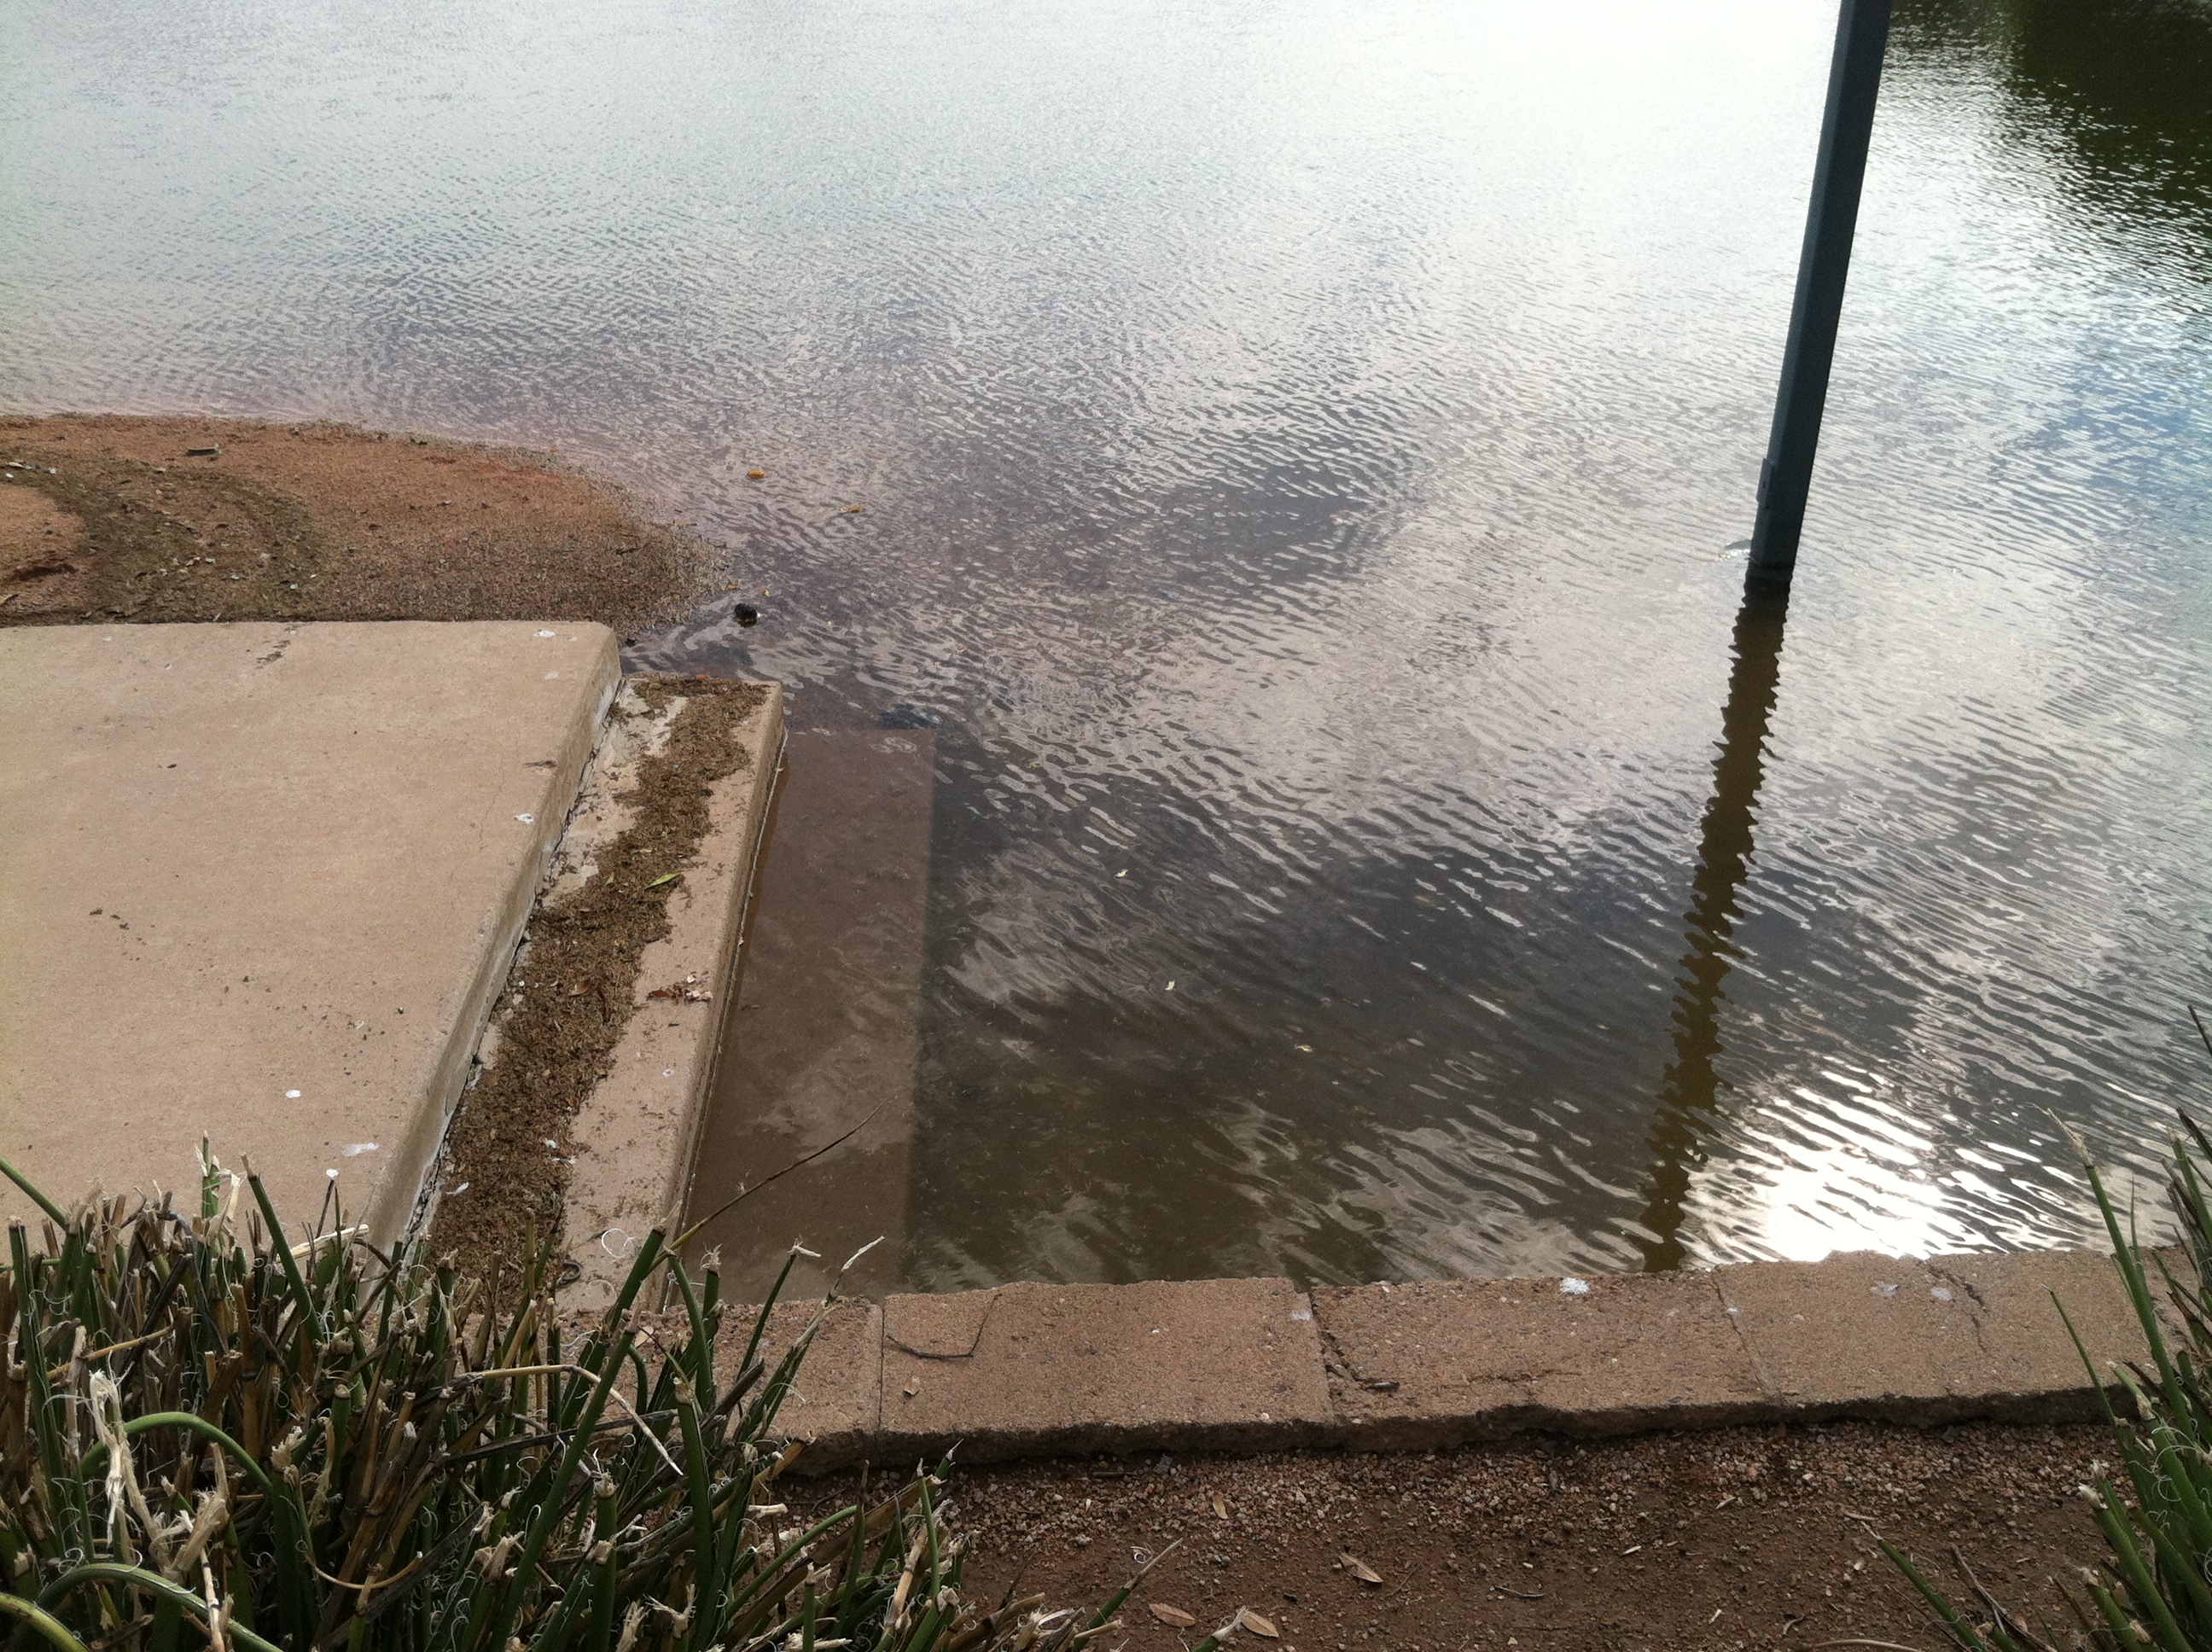
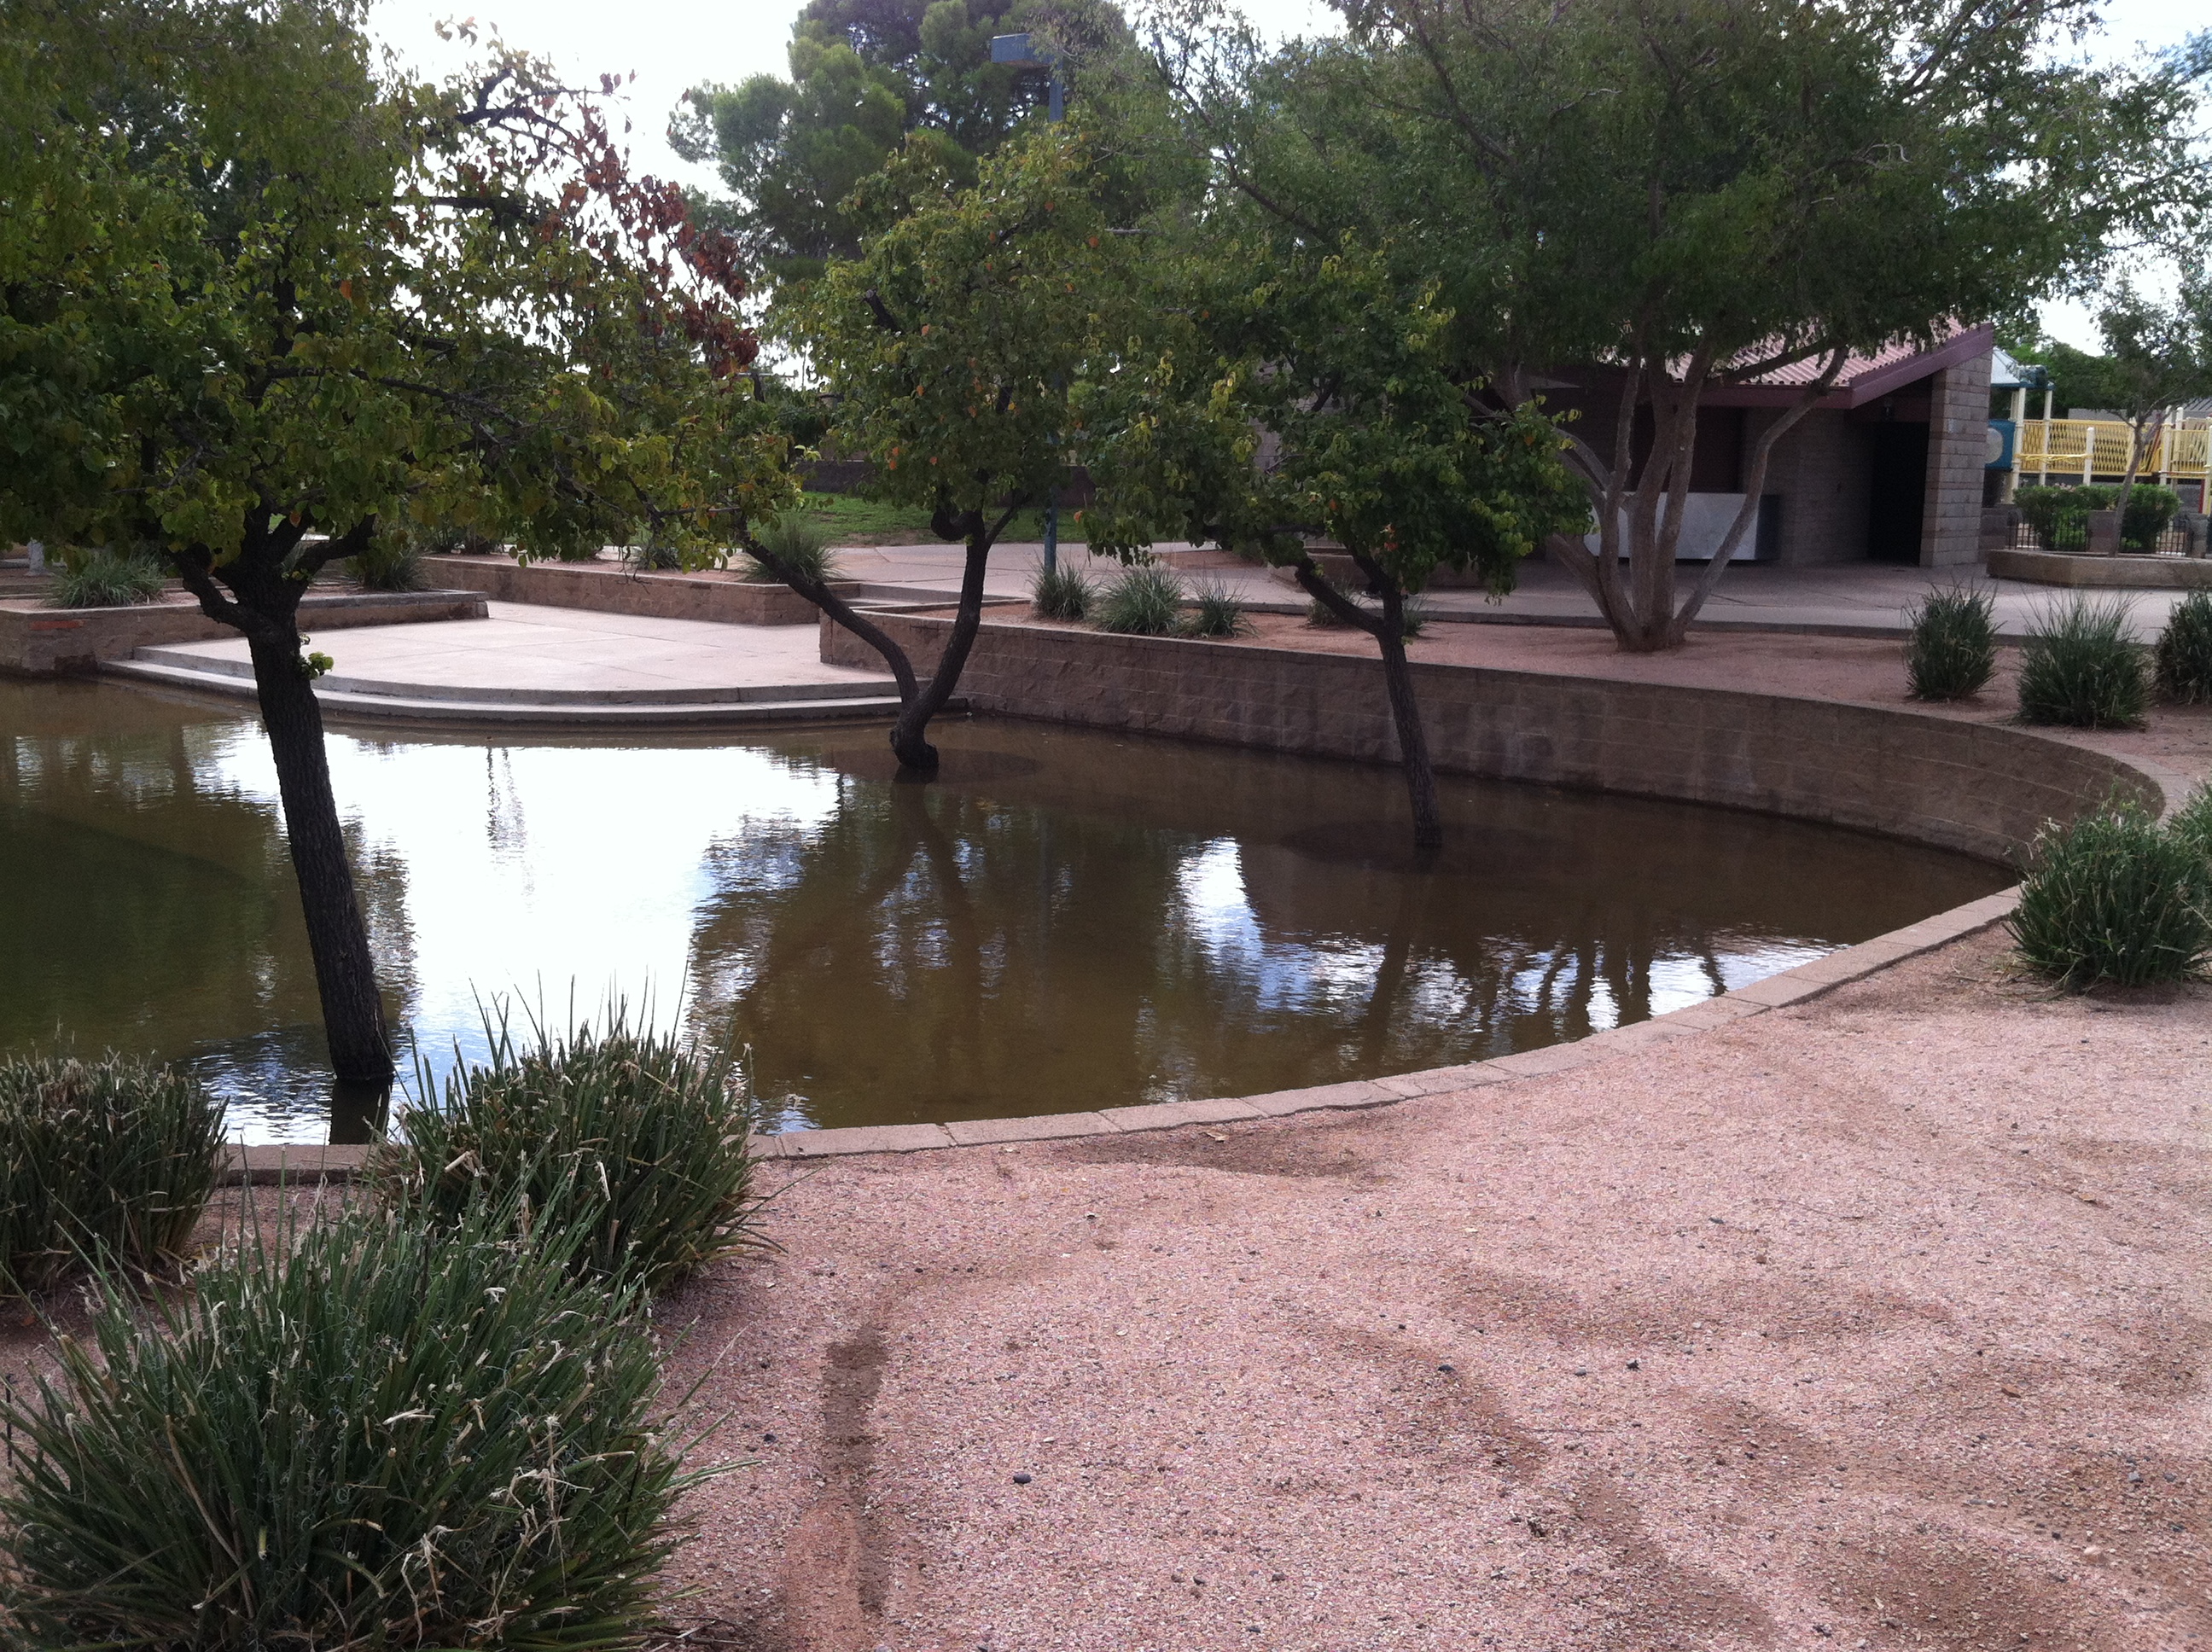
Here are a few pictures I took the day after the storm. The pond near us flooded 5 or 6 feet above where it normally is.

Arizona Flooding 1 Arizona Flooding 2 Arizona Flooding 3 Arizona Flooding 4


A Dust Storm

A dust storm: in moments, the sky turns from light blue to a chalky brown. Teenage boys at the pool grab their towels and dash to shelter. I watch through my window in wonder, as palm trees bend wildly, trying to touch their leaves to the ground.

(originally posted July 25th. This is my attempt at a prose poem.)


How to Create Sugar Cookie Paintings

How to Create a Sugar Cookie PaintingA while back I was in charge of a youth activity, and we decided to do sugar cookie paintings. Luckily I tested it out ahead of time, because the first set of instructions I found on the internet created a complete flop. I did some more searching and my second attempt worked much better.

Step 1: Create sugar cookies and cut them out as canvases.

I like this recipe on allrecipes.com. It has a 4.5 star rating with over 6000 reviews, and it worked really well for cookie painting.

I rolled the cookie dough rather thin–it rises a fair bit while cooking, and if you’re making a large canvas the thicker it is the more likely it is to crack and break.

If you want exact canvas shapes you can measure with a rule and cut. You can also cut your canvas shapes in paper, set it on top of the cookie dough, and cut it. I made squares, rectangles, and circles of various sizes.

Note: Because it rises, the edges aren’t going to be quite as crisp as you originally made them. But that is part of the charm of a cookie painting.

One of the most useful things you can do is roll your dough out on parchment paper. This makes it so you don’t have to peel your cookies off your surface and then lay them back on a cookie sheet (doing so can cause tears or stretching). Once you’ve rolled and cut the dough you just pick up your parchment paper and set it on the cookie sheet. Once you pull your cookies out of the oven you can pick up the parchment paper (with cookies on top) and set it straight on a cooling rack. That way your cookies don’t overbake. If you try to remove a large cookie from a cookie sheet or from parchment paper before it’s completely cooled it breaks pretty easily.

Final note for this step: I baked the cookies for 8-9 minutes. I was less concerned about super soft cookies than with having a canvas that would really hold together.

Step 2: Create paint-like frosting.

A lot of frostings don’t work well for painting–you want the consistency of acrylic paint, that dries fast.

This frosting from bon appetit worked great.

Step 3: Color creation

As with any paint mixing, you can get a full range of colors if you have red, yellow, blue, white and black.

If you’ve made your frosting, you already have white. I bought a basic box of liquid food coloring, with red, yellow, blue, and green. Surprisingly, in my grocery store it wasn’t next to the cupcake holders or the sprinkles–they had the gel food coloring there. The normal box was actually next to the spices. I also bought a box of black, so I could make darker colors.

The Food Network has a great page with instructions on how to make a huge number of colors. You can follow their directions, or just use the page for inspiration. What you’ll notice is that for minor color variations, sometimes you need to work with a large amount of frosting, because a single drop of color will change it drastically. Also, don’t be afraid to add a completely opposite color to create your final color.

When I painted my Van Gogh inspired cookie, I made a bunch of colors, and then to create slight variations in blues I mixed some of my colors together.

Step 4: Create a base for your painting

You need to create a base of paint for your cookie. A white base is a nice standard color, but if you know what colors you’re going to be working in you can use something different. I painted the whole cookie a dark blue since “Starry Night” is largely dark blue. That made it easier later on–if there was a tiny bit I didn’t paint, it was still a good color.

Tip: buy new paintbrushes that have never been used for anything else. Because seriously, you’ll want to eat this.

Step 5: Imitate a famous painting or create your own design.

I had Van Gogh’s “Starry Night” up on my phone. First I made some lines for the major designs, and then I hopped around between different sections of the painting, letting one part dry while I worked on another section.

Tip: Use a toothpick for the super small details.

Most people at the activity created their own designs: a watermelon, a smurf, a quilt, abstract paintings, etc.

My Van Gogh cookie canvas was about 5 inches by 6 or 7 inches, and it took me about an hour and fifteen minutes to do. A less complicated painting will take less time.

Step 6: Display your cookie

Because seriously, it’s going to be awesome.

Van Gogh Starry Night Sugar Cookie

And Van Gogh’s original painting, for comparison’s sake:

Van Gogh Starry Night the Original

And a picture of me holding my cookie, so you know I didn’t just find a cool picture on the Internet and pretend that I made it:

Van Gogh Starry Night Sugar Cookie 2

Step 7: Eat your cookie before it goes bad.

Just like sandcastles, sugar cookie paintings can’t last forever. And that’s part of the joy. Confession: I’ve always wanted to eat a Van Gogh.

Eating a Van Gogh