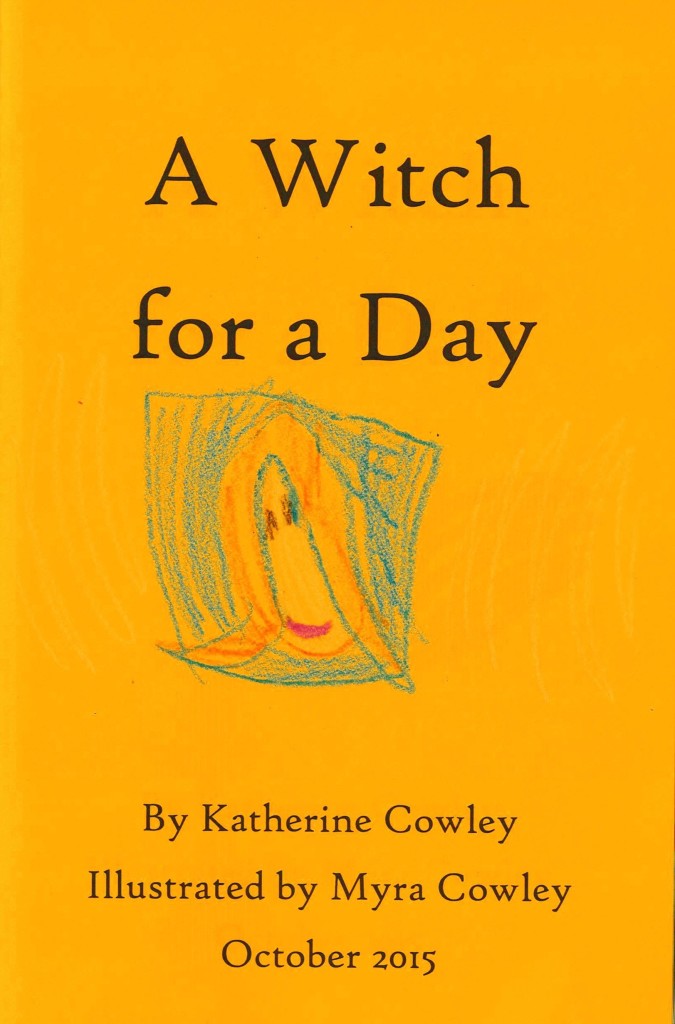
“A Witch for a Day” – A Picture Book Illustrated by a 4-Year-Old

Myra holding her illustrated copy of A Witch for a Day

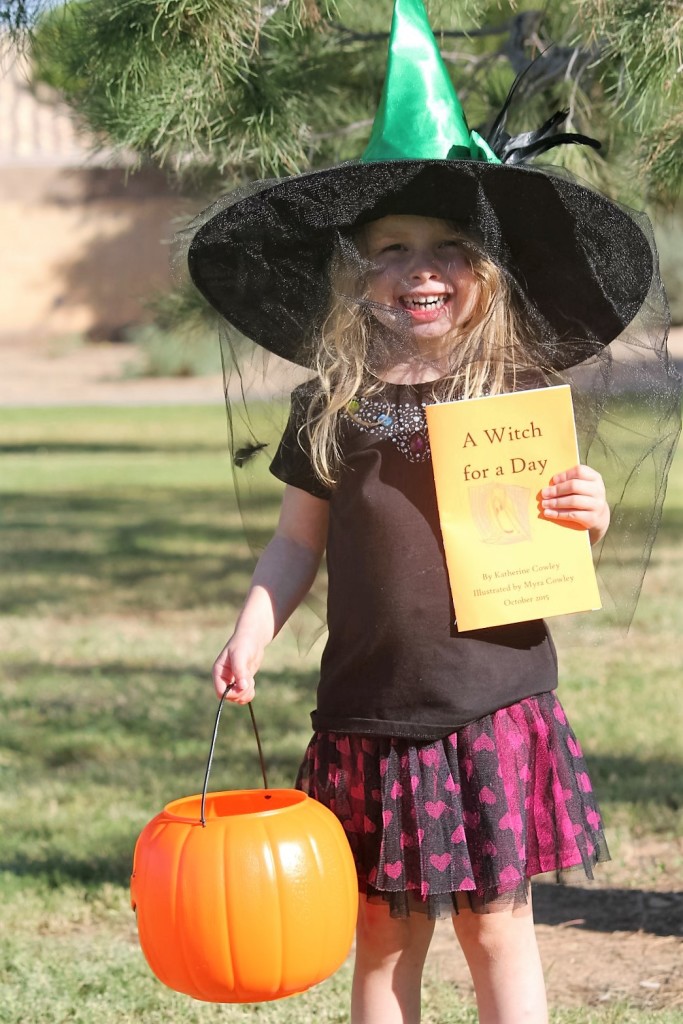
I wrote a picture book for my 4-year-old daughter and she illustrated it. She wanted me to post it online so that everyone could read it for Halloween. It’s titled A Witch for a Day and her illustrations are absolutely delightful.

But before I include the story/pictures, a little background. (You can scroll to skip if you just want the story.)

Last week, I received my very first fan art, for my novelette “The Clockwork Seer.”

The Clockwork Seer Fan ArtIt was made by my daughter Myra. When “The Clockwork Seer” was released in the anthology Steel and Bone in June, Myra asked me to read it to her. It took two days, but she listened attentively to the entire thing, despite the lack of any pictures.

After one of our reading sessions, Myra declared, “she feels tastes!”

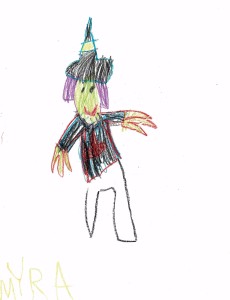
I read it to her four months ago, but she still randomly brings it up (“there was an automaton, wasn’t there?”). And the picture she drew me about the story (which includes the title, under the orangish-brown square) even says “The Clockwork Seer.”

I flipped over the picture and on the back I found the following:


Pumpkin Story Request
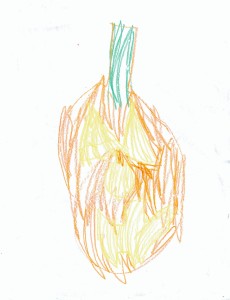
Myra said, “I drew you a pumpkin because your next story needs to be a Halloween story. And it needs to have witches and wizards in it.”

So I brainstormed a little, and sat down and wrote her a picture book. I printed it out and read her each page so she could illustrate it.

The results make me very happy. I hope you enjoy our story and have a very Happy Halloween!


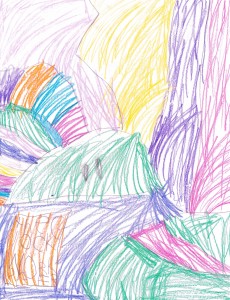
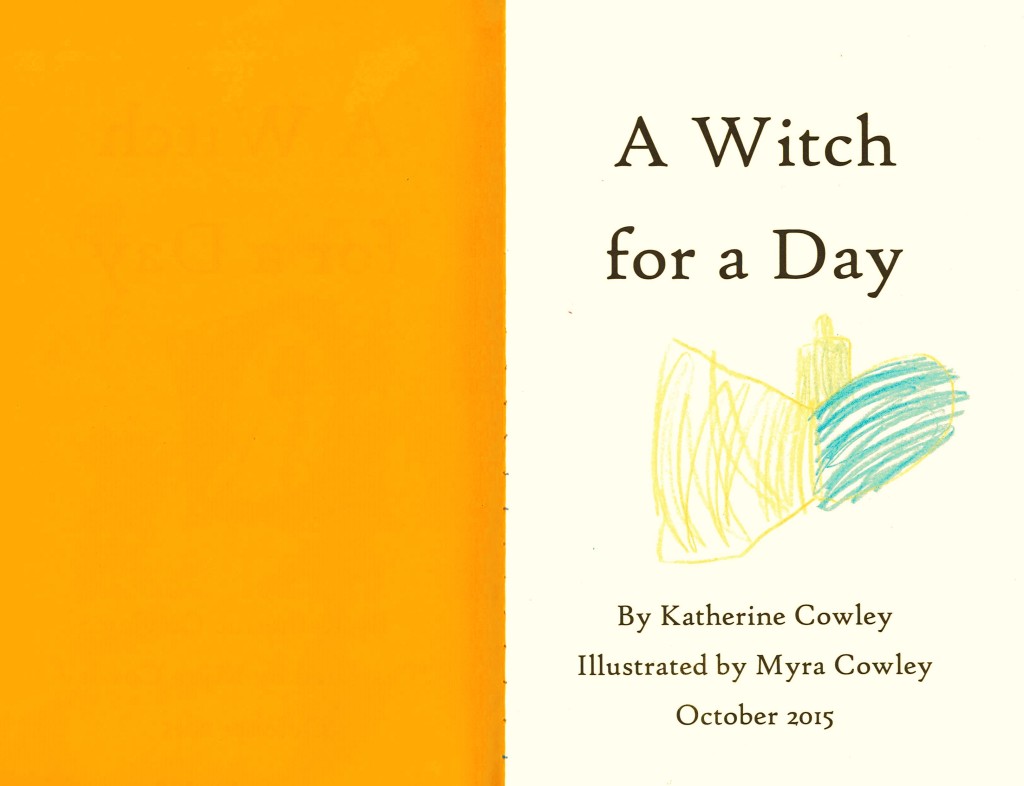
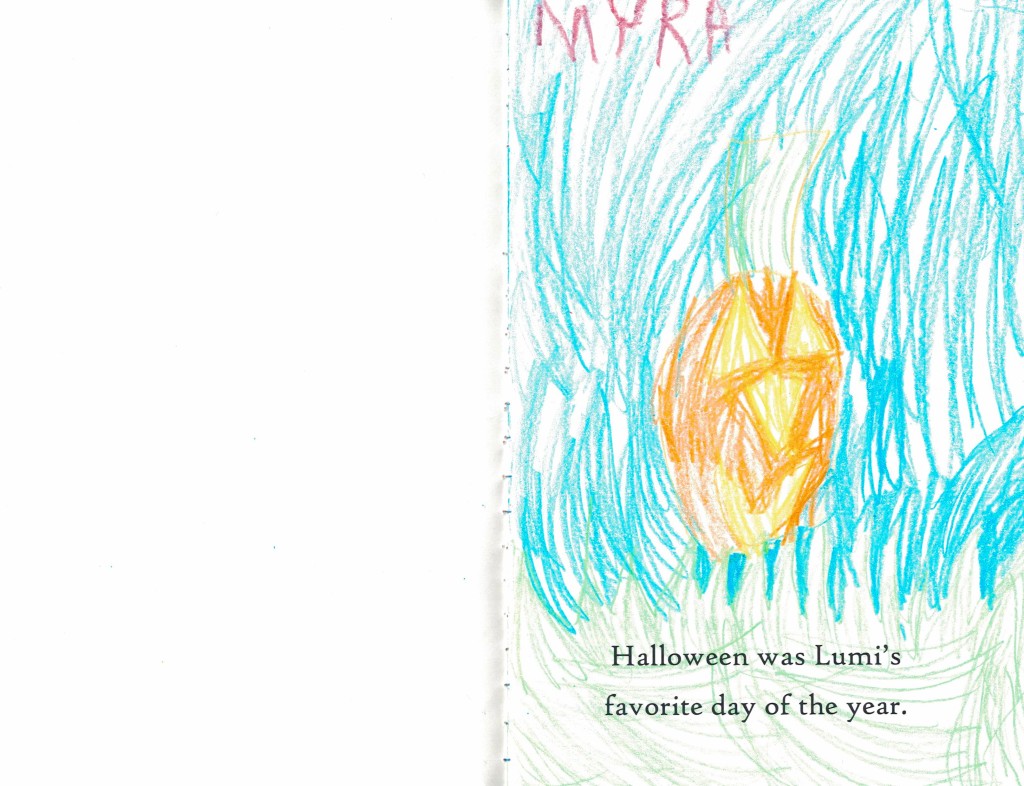
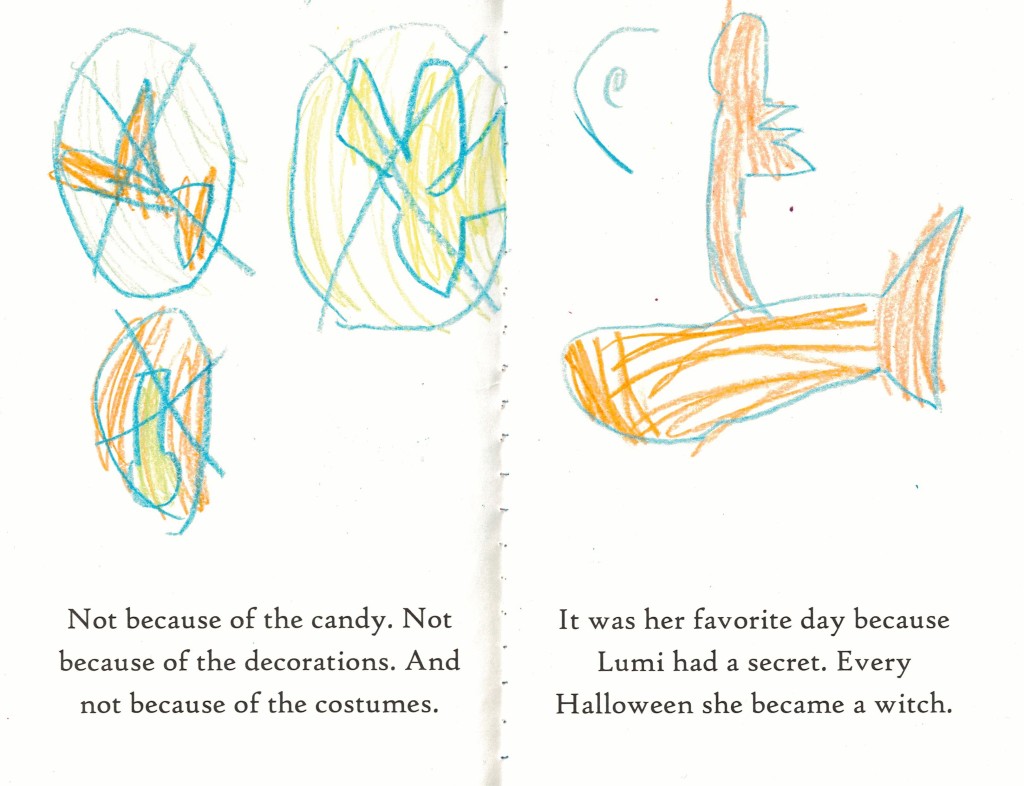
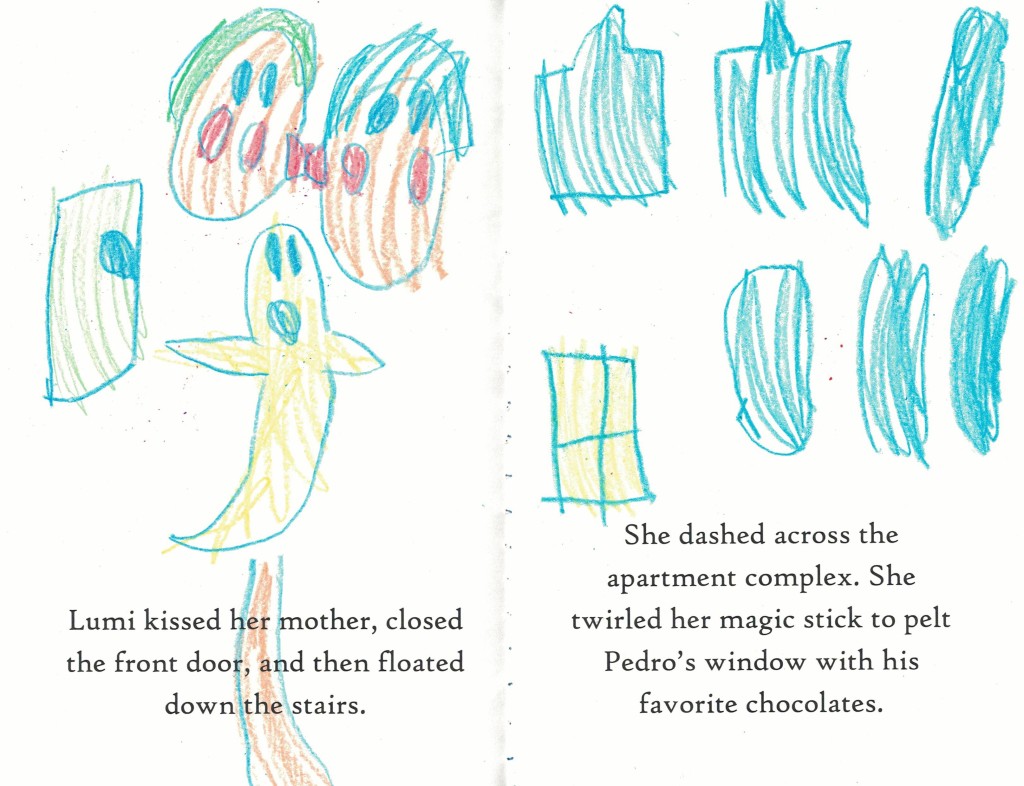
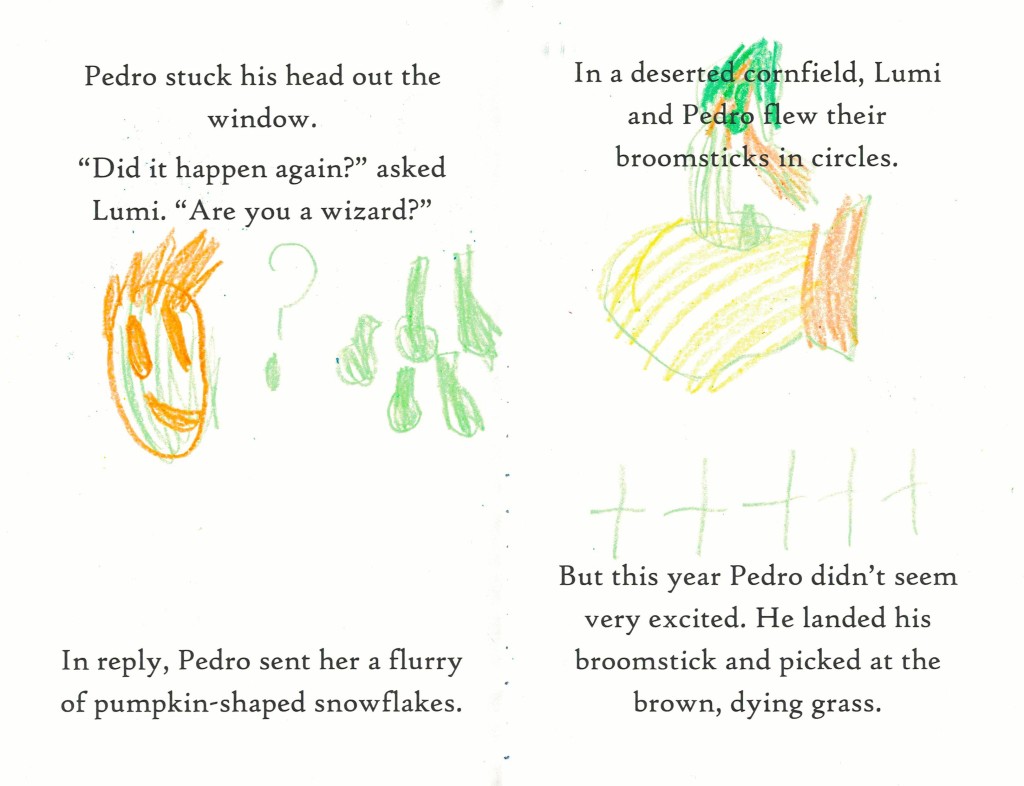
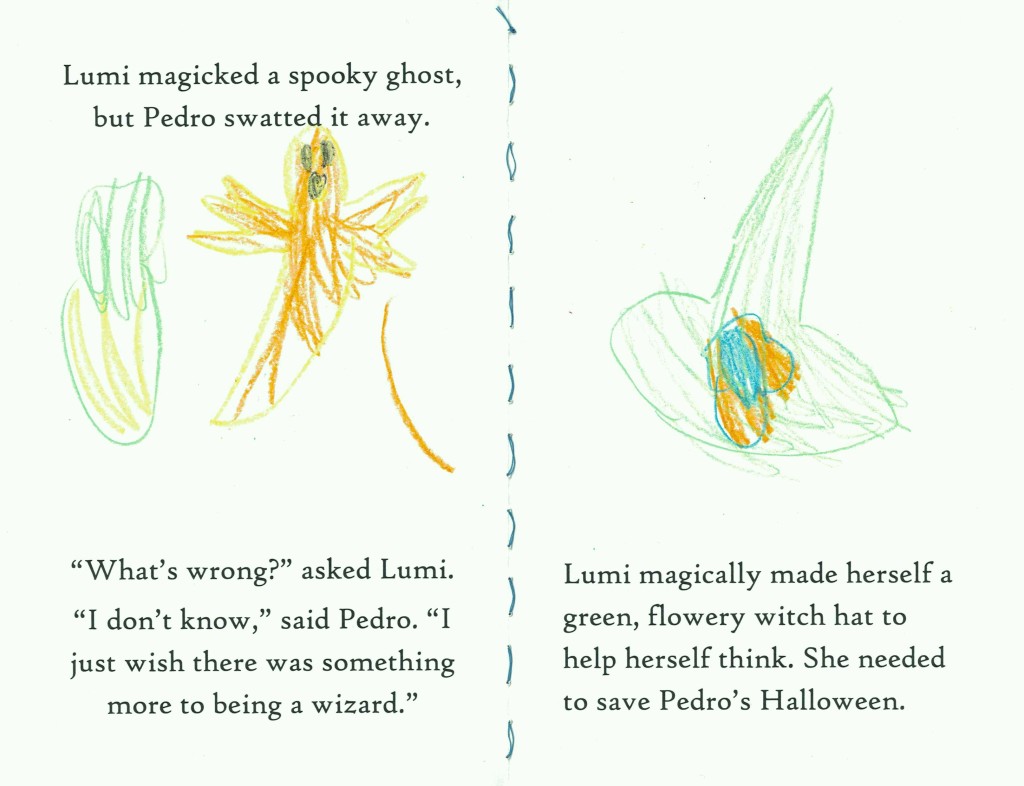
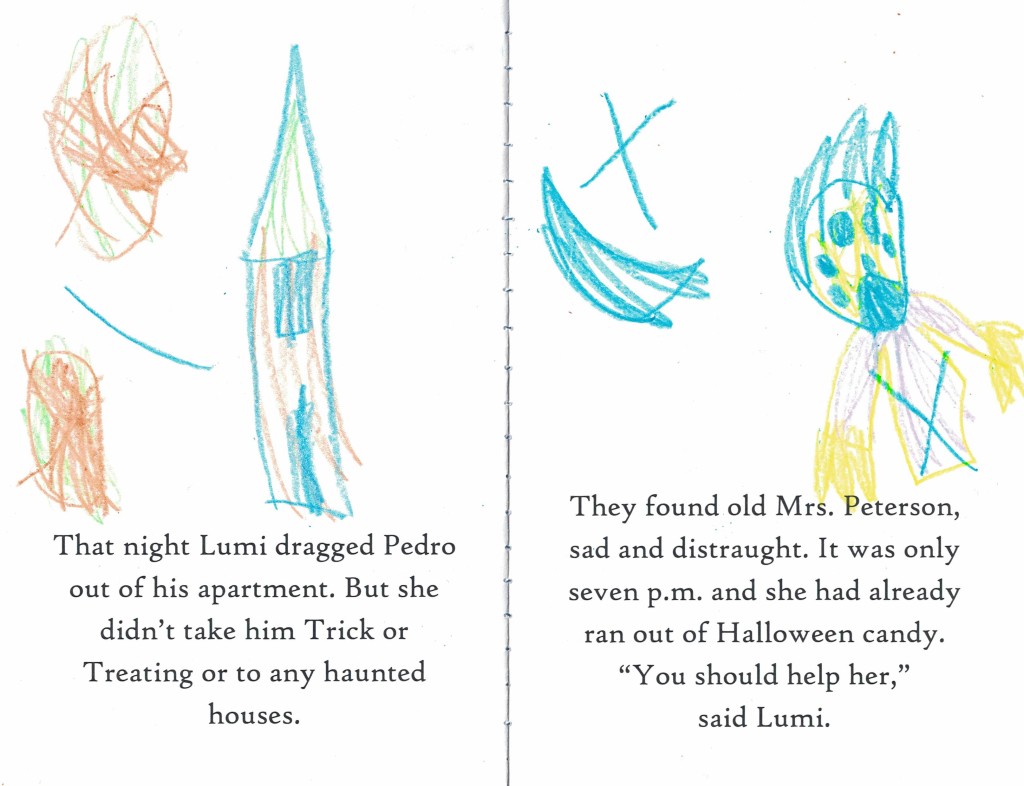
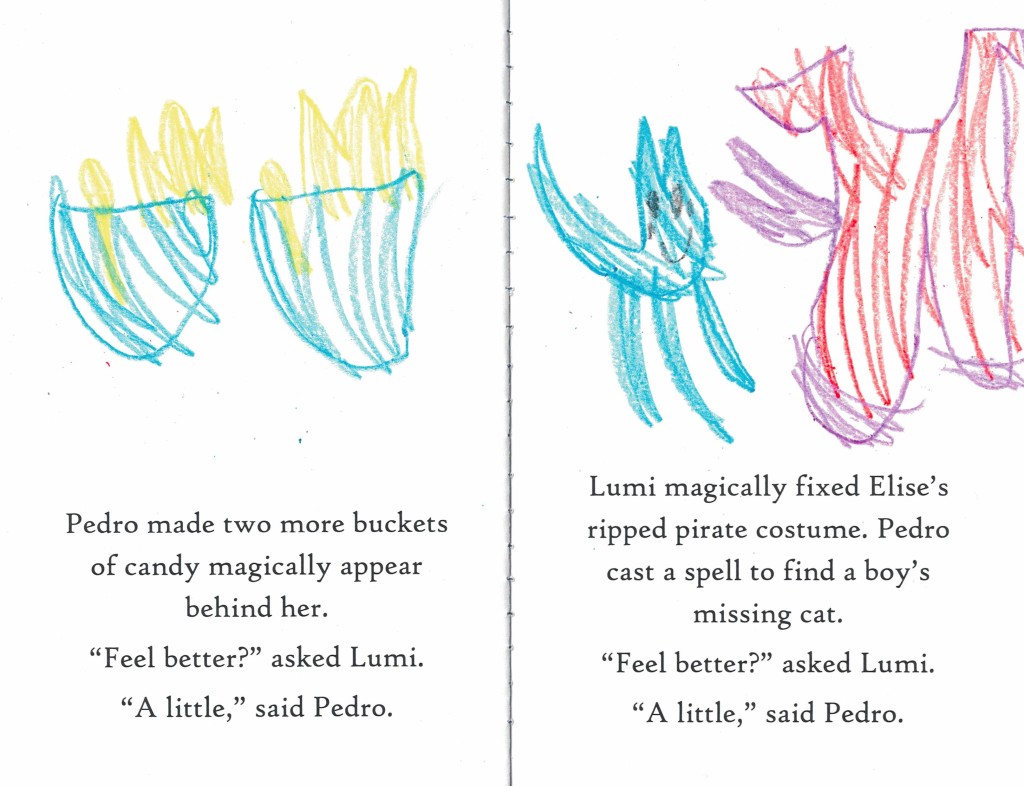
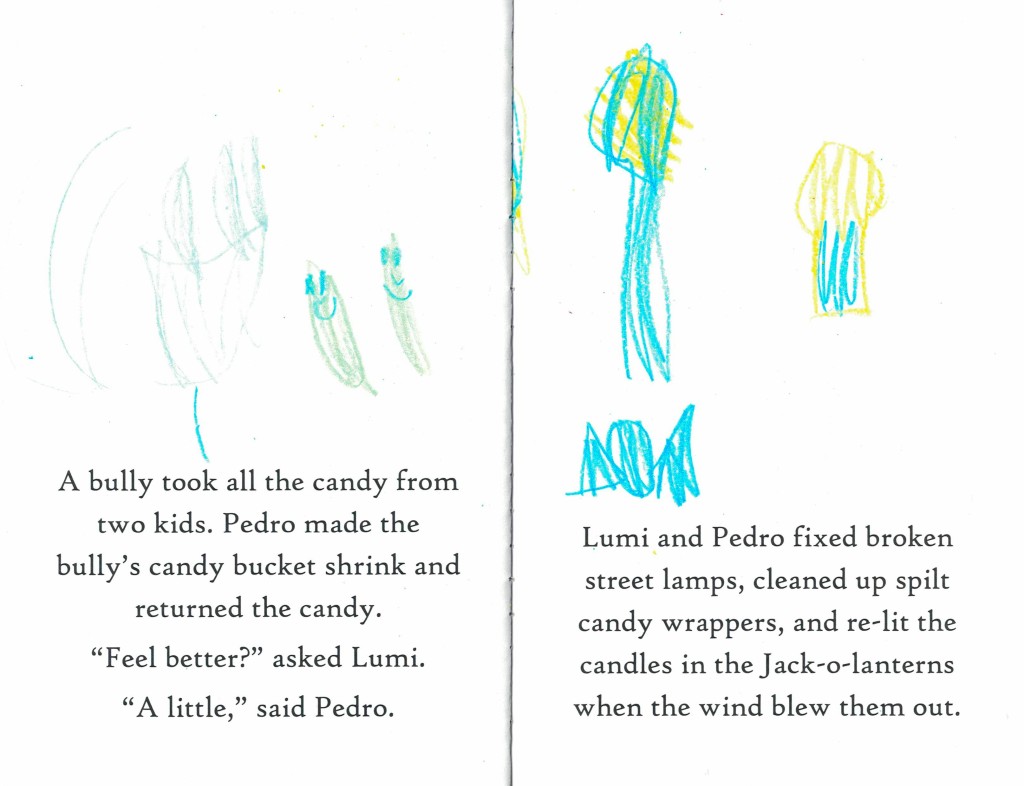
A Witch for a Day – by Katherine Cowley; illustrated by Myra Cowley

A Witch for a Day - Cover

A Witch for a Day - Page 1

A Witch for a Day - Page 2

A Witch for a Day - Page 3

A Witch for a Day - Page 4

A Witch for a Day - Page 5

A Witch for a Day - Page 6

A Witch for a Day - Page 7

A Witch for a Day - Page 8

A Witch for a Day - Page 9

A Witch for a Day - Page 10

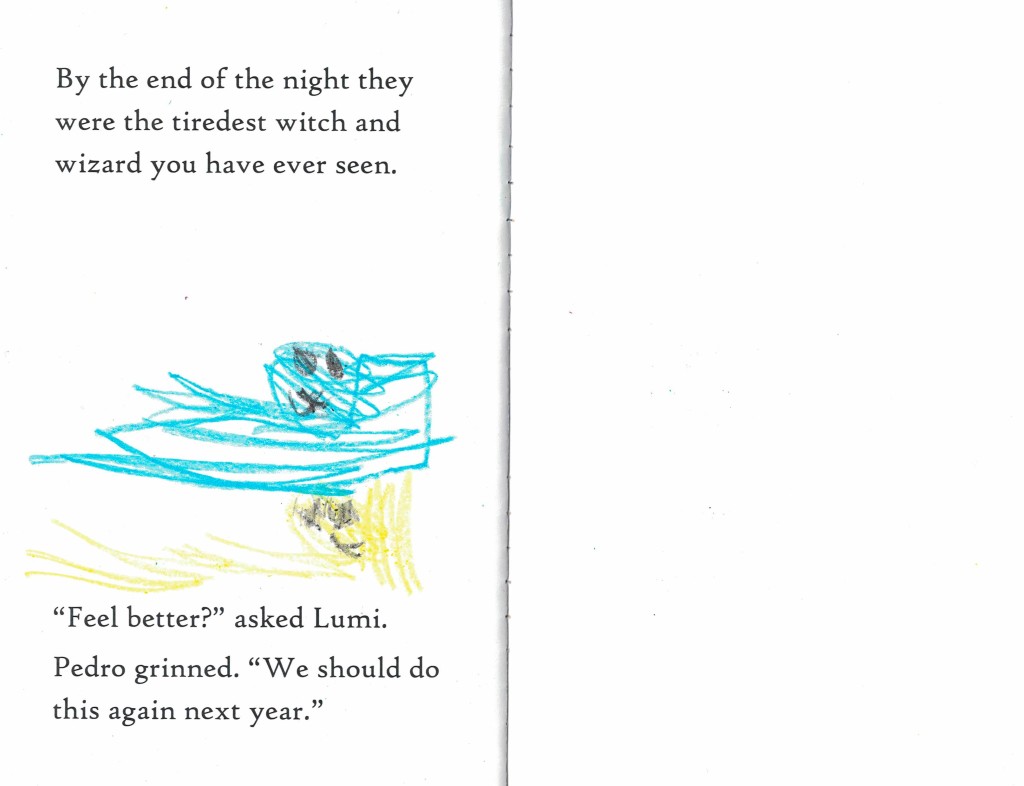
And that, folks, is A Witch for a Day. Part of me thinks that every picture book should be illustrated by a 4-year-old.

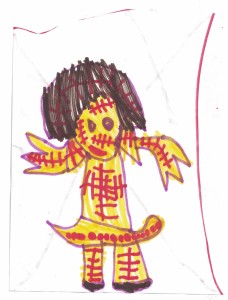
Bonus Witch Pictures

My daughter has been rather excited about witches this year. Not only is she dressing as a witch for Halloween, but she has drawn several other witch pictures that she wanted me to share.
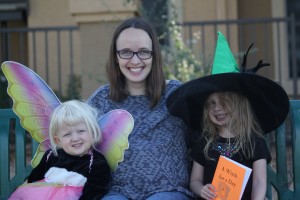
A WitchUnfinished WitchA Witch for a Day - Happy Halloween

Happy Halloween!

A Fancy Nancy Birthday Party and Activities

Fancy Nancy Birthday Party

Books are well-loved in my family, so it was quite natural to throw a book-themed birthday party. Having a Fancy Nancy themed birthday party made it so my daughter could have all the fancy, pink things she wanted. For activities we did everything from Fancy Nancy crafts to a Fancy Show and Tell.

You could easily throw a Fancy Nancy birthday party for children from ages 3 to 8 (and there are books targeted to both slightly younger and slightly older children). In this blog post I’ve included alternate activity ideas in addition to the ones I used. I’ve also included my approximate prices.

Fancy Apparel

What’s a Fancy Nancy party without fancy apparel? On the invitation we invited everyone to wear fancy clothes to the party. My husband even wore his tuxedo.

Fancy for the Fancy Nancy Party

My daughters in their fancy clothes, waiting for the guests to arrive.

Opening Activity: Pin the Accessories on Fancy Nancy

Pin the Accessories on Fancy Nancy (Fancy Nancy Birthday Party)
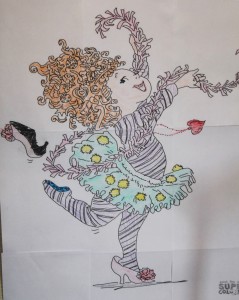
I made a large Fancy Nancy poster and printed and cut out lots of jewelry, bows, ribbons, butterflies, and other decorations.

When the kids arrived, they were able to color in the accessories and then tape then on to Fancy Nancy. Because my daughter and her friends are rather young, they pinned the accessories on with their eyes open. Slightly older children could do it blindfolded.

Pin the Accessories on Fancy Nancy (Fancy Nancy Birthday Party)
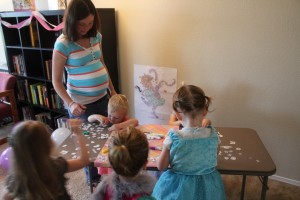
Planning your own party:

If you want to print a poster at Office Max or another copy place, download a high quality file from Google. (On Google Images search Fancy Nancy. Click on Search Tools, Choose Size, and then select Large so you have a high quality image.)

I actually created my own poster by using a high quality black and white image, expanding it in Microsoft Excel, and then printing, assembling, and coloring it myself.

Fancy Nancy Crafts

Fancy Crowns (Fancy Nancy Birthday Party)
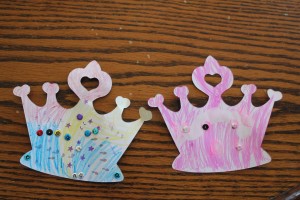
I found a ridiculous number of paper crowns at Hobby Lobby for $2, bought sequins, and provided fun markers and glue. And then the kids decorated fancy crowns.

For those who finished their crowns more quickly, I also printed out Fancy Nancy coloring pages from Fancy Nancy World, an awesome website made by the publishers of the Fancy Nancy books.


Fancy Show and Tell

This was one of the highlights of our Fancy Nancy birthday party. On the invitation, we asked each of the kids to bring a fancy item for show and tell. The kids had an awesome time talking about their fancy items, and it was a great way to introduce kids who didn’t know each other.

Fancy Nancy Story Time and Dancing

What is a Fancy Nancy party without story time?

Fancy Nancy Birthday Story Time

I read the kids the book Fancy Nancy: Budding Ballerina (which you can buy on Amazon for a few dollars).

Fancy Nancy Budding BallerinaIn this book, Fancy Nancy decides to teach ballet lessons to her family. It’s a delightful little story.

After reading the book, all the kids got to dance, which was one of the highlights of the party. My daughters loved spinning and twirling with their friends. For music they chose “Dance of the Sugar Plum Fairy.” There are also lots of great CD collections like The Little Ballerina! The Greatest Classical Ballet Music for Kids.

They also danced to the song “Anyone Can Be Fancy” from Fancy Nancy: The Musical. Yes, there’s a Fancy Nancy musical. It’s very existence makes me happy.


Fancy Nancy Birthday Treats and Party Favors

Fancy Nancy Birthday Treats

My daughter insisted on a Funfetti cupcake mix and pink frosting (she actually planned this part over six months in advance of the party). I bought several cans of Betty Crocker Cupcake Icing at the store, which made decorating the cupcakes really easy, as they already comes with four tips. (I just used the basic flower one, and went in circles from the outside of the cupcake in.) My daughters added sprinkles and umbrella toothpicks (Walmart–$4). The results are very similar to the cupcakes Fancy Nancy makes in the books.

Fancy Nancy Cupcakes (Fancy Nancy Birthday Party)

Fancy Nancy Party FavorsFor favors I bought a couple packs of girly party favors (which you can buy from a party store, Walmart, Target, etc.). I also purchased candy bracelets, extra rings and butterfly hair clips to add to the mix. And the favorite party favor of all: ring pops (from the dollar store).

If you want to go to the next level, you could give each kid a Fancy Nancy book. There are a number of paperbacks available for just a few dollars a copy. (For example, Tea for Two, Puppy Party, The Delectable Cupcakes, Super Secret Surprise Party, or, if you have slightly older kids and want an early chapter book, Secret of the Silver Key.)

Fancy Nancy Birthday Party: Additional Activity Ideas

  • Fancy smells (perfume testing) or for older children, fancy nails
  • A Fancy Nancy rhyming or fancy words activity
  • Making fancy name tags or hair clips
  • Turn the birthday party into a tea party, and read Tea for Two
  • Fancy Nancy Hide ‘n Peek House Game (this is an awesome game, targeted for ages 6 and up, though you can simplify it for younger kids). This would work well for a more intimate party, with 5 or 6 guests.
  • Fancy Nancy World has a number of printable games and crafts that could be used or adapted for a party.

Fancy Nancy Birthday Party - Dressing Up

My daughters were pretty worn out by the end of the party (when we had this picture taken) but they loved the party and so did the guests!

Breastfeeding Mama, at the Tempe Community Writing Contest

Breastfeeding Mama

Question:

What do breastfeeding, Aztec fire rituals, family history stories, and porcupine quills have in common?

Answer:

They are all in my new essay titled “Breastfeeding Mama,” which won first place for adult nonfiction in the 2015 Tempe Community Writing Contest.

The History of the Essay:

I originally wrote this essay in January 2012 and submitted it to a writing contest. It sort of worked, but sort of didn’t. It then went through a number of further revisions. I even over-revised it to the point of ruining it. I took over a year off from the essay and then rewrote it, and started submitting it again.

Tempe Community Writing ContestThe Essay’s New Home:

This year was the first time for the Tempe Community Writing Contest. The contest was a collaboration between the Tempe Public Library and Arizona State University. There were three categories of writing (fiction, poetry, and nonfiction) and three categories of people (adult, college student, and teenager). Almost 200 people submitted, and my essay was a co-winner for the Adult Nonfiction category.

Last night they had a reception at the Tempe Public Library, and winners got to read selections from their pieces. My husband counted, and there were about 80 people in the audience. And everyone laughed at my writing. Which actually made me very happy, as it is a humorous essay. It’s when you write a humorous essay and people don’t laugh that you need to worry. You should also worry when people throw tomatoes at you. But there were no tomatoes in the library. Only cookies. And (perhaps unfortunately) no one threw any cookies at me.

Read the Essay Online:

The book of winners published by the Tempe Library is available for free online: Tempe Writer’s Forum Volume 1. My essay starts on page 57 of the pdf.

(If you’re interested in reading the honorable mentions, they are available online as well.)

Content warning:

There are both breasts and babies in this essay, both of which are known to make some people feel supremely uncomfortable.


Original heart image by skyler817, Creative Commons license

How to Create Sugar Cookie Paintings

How to Create a Sugar Cookie PaintingA while back I was in charge of a youth activity, and we decided to do sugar cookie paintings. Luckily I tested it out ahead of time, because the first set of instructions I found on the internet created a complete flop. I did some more searching and my second attempt worked much better.

Step 1: Create sugar cookies and cut them out as canvases.

I like this recipe on allrecipes.com. It has a 4.5 star rating with over 6000 reviews, and it worked really well for cookie painting.

I rolled the cookie dough rather thin–it rises a fair bit while cooking, and if you’re making a large canvas the thicker it is the more likely it is to crack and break.

If you want exact canvas shapes you can measure with a rule and cut. You can also cut your canvas shapes in paper, set it on top of the cookie dough, and cut it. I made squares, rectangles, and circles of various sizes.

Note: Because it rises, the edges aren’t going to be quite as crisp as you originally made them. But that is part of the charm of a cookie painting.

One of the most useful things you can do is roll your dough out on parchment paper. This makes it so you don’t have to peel your cookies off your surface and then lay them back on a cookie sheet (doing so can cause tears or stretching). Once you’ve rolled and cut the dough you just pick up your parchment paper and set it on the cookie sheet. Once you pull your cookies out of the oven you can pick up the parchment paper (with cookies on top) and set it straight on a cooling rack. That way your cookies don’t overbake. If you try to remove a large cookie from a cookie sheet or from parchment paper before it’s completely cooled it breaks pretty easily.

Final note for this step: I baked the cookies for 8-9 minutes. I was less concerned about super soft cookies than with having a canvas that would really hold together.

Step 2: Create paint-like frosting.

A lot of frostings don’t work well for painting–you want the consistency of acrylic paint, that dries fast.

This frosting from bon appetit worked great.

Step 3: Color creation

As with any paint mixing, you can get a full range of colors if you have red, yellow, blue, white and black.

If you’ve made your frosting, you already have white. I bought a basic box of liquid food coloring, with red, yellow, blue, and green. Surprisingly, in my grocery store it wasn’t next to the cupcake holders or the sprinkles–they had the gel food coloring there. The normal box was actually next to the spices. I also bought a box of black, so I could make darker colors.

The Food Network has a great page with instructions on how to make a huge number of colors. You can follow their directions, or just use the page for inspiration. What you’ll notice is that for minor color variations, sometimes you need to work with a large amount of frosting, because a single drop of color will change it drastically. Also, don’t be afraid to add a completely opposite color to create your final color.

When I painted my Van Gogh inspired cookie, I made a bunch of colors, and then to create slight variations in blues I mixed some of my colors together.

Step 4: Create a base for your painting

You need to create a base of paint for your cookie. A white base is a nice standard color, but if you know what colors you’re going to be working in you can use something different. I painted the whole cookie a dark blue since “Starry Night” is largely dark blue. That made it easier later on–if there was a tiny bit I didn’t paint, it was still a good color.

Tip: buy new paintbrushes that have never been used for anything else. Because seriously, you’ll want to eat this.

Step 5: Imitate a famous painting or create your own design.

I had Van Gogh’s “Starry Night” up on my phone. First I made some lines for the major designs, and then I hopped around between different sections of the painting, letting one part dry while I worked on another section.

Tip: Use a toothpick for the super small details.

Most people at the activity created their own designs: a watermelon, a smurf, a quilt, abstract paintings, etc.

My Van Gogh cookie canvas was about 5 inches by 6 or 7 inches, and it took me about an hour and fifteen minutes to do. A less complicated painting will take less time.

Step 6: Display your cookie

Because seriously, it’s going to be awesome.

Van Gogh Starry Night Sugar Cookie

And Van Gogh’s original painting, for comparison’s sake:

Van Gogh Starry Night the Original

And a picture of me holding my cookie, so you know I didn’t just find a cool picture on the Internet and pretend that I made it:

Van Gogh Starry Night Sugar Cookie 2

Step 7: Eat your cookie before it goes bad.

Just like sandcastles, sugar cookie paintings can’t last forever. And that’s part of the joy. Confession: I’ve always wanted to eat a Van Gogh.

Eating a Van Gogh


Living the Dream (of Homemaking and Motherhood)

A few nights ago, I had a very vivid dream which involved me reading a pile of books to my toddler. I mentioned the dream to my friend Shann, and added, “And I’ve read a lot of books to Myra today.”

Without a moment’s hesitation, Shann replied, “You’re living the dream!”

(Photo by Marissa Strniste)

Many visuals and many roles come to mind with the phrase “Living the Dream,” and typically being a mother is not one of them. You might picture a tropical island, fame, riches, or a relaxing lifestyle. Or, like in the song from the film Tangled, achieving a lofty goal (becoming a concert pianist, collecting ceramic unicorns, crafting a fulfilling career in interior design, or traveling outside of the limits of your current experience).

Recently, several of my high school friends have become very successful in the business world. It’s led me to consider the question, “What would I do if I had millions of dollars?”

For one, I’d buy all the expensive, foreign cheeses I wanted, and we could afford to go on more dates. I’d also raise my book budget, which is currently capped at $10 a month. Oh yes, and I’d buy a house. With a lawn mower.

But besides overflowing bookshelves and fridges, how would my life really look different? How would I choose to spend my time?

(Photo by Oberazzi)

After much thought I’ve decided that I would still choose to be a homemaker.

Yes, that means 60+ hours a week changing dirty diapers, cooking meals that will appeal to both adults and toddlers, taping broken objects, and trying to keep the house from descending into chaos. And when my next child is born, that will include spending hours every day breastfeeding and a fair number of sleepless nights.

But those 60+ hours a week also include my daughter bringing me a book, climbing onto my lap, and listening as I tell her stories. It includes singing the alphabet with Myra, taking her on walks, teaching her to enjoy the pool, and playing tickle attack.

It includes precious little moments that happen all the time, if only I choose to notice them. For example, yesterday I found my daughter sitting in the bathtub, fully clothed, waiting for the water to come out. (She had already taken one bath, but was pointing at the faucet saying, “water, water.”)

Another precious moment: my daughter stuck in a cupboard, saying, “Mom. Mom. Mom!”

Am I living the dream?

It’s not the dream I had in high school, that’s for sure. (My answer my senior year when I received the question, “Where will you be in 10 years?” did not include children.)

And it’s still not my only dream.

I have a lot of dreams, from being a published author to becoming accomplished at Chinese calligraphy to designing crochet patterns.

I haven’t touched my bamboo brushes in years–I never have two uninterrupted hours, and toxic paints plus children are a bad combination. I spend time writing, but it’s bits and pieces of free time here and there. I slowly create projects with my yarn, but I still haven’t figured out how to visualize something without a pattern.

These dreams, like many of the other dreams I cherish and love, have been mostly put aside, because of another dream I’m choosing to work on.

I choose to be a homemaker, because I feel it is best for my children, especially in their early years, to have someone to teach them and guide them and take care of them on a constant basis. And while it would make a big difference to our finances and budget if we had two incomes, I’m lucky enough not to have to work.

Right now, being a mother and a homemaker is my most important dream. And like all dreams that are really worthwhile, it requires sacrifices. This year, I’ve struggled with a lot of the sacrifices I’ve had to make. But it’s worth it, because right now I’m living the dream.


(For a related post, see Guardians of the Hearth.)